NeoFur for Unreal Installation
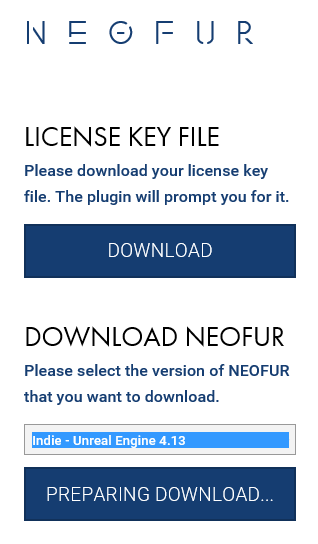
Once you've completed your purchase of NeoFur, you'll be sent to a download page where you can download your license file and you'll be given a choice of all versions that are valid for your license.
- Download your license file
- Choose the version of the NeoFur plugin which matches the version of the Unreal Engine that you're developing for.
NeoFur Plugin Installation
Copy the "Plugins" folder from your plugin zip, into the root of your project.
YourProject/MyProject.uproject
YourProject/Plugins/Neoglyphic/NeoFur
License Installation
As of version 2 (build 326), NeoFur requires your license key for Personal and Indie editions. Copy the downloaded license file into the NeoFur Plugin folder:
YourProject/Plugins/Neoglyphic/NeoFur/license.txt
When you first open your project with the NeoFur plugin installed, it will look for the license in this location.
License Installation Troubleshooting
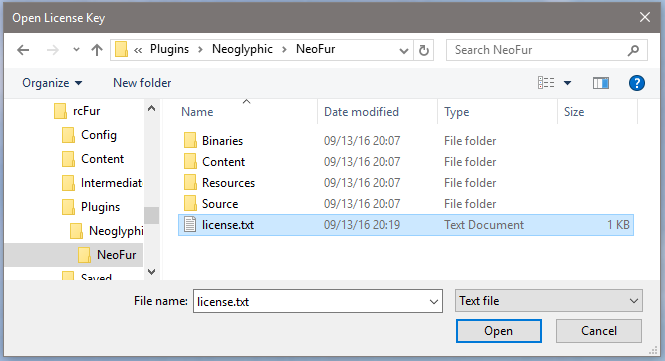
If you haven't put the license in the correct place, it will ask you for the location of the file.
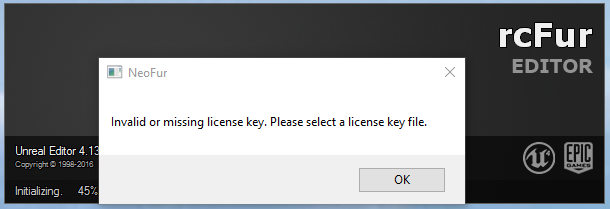
Browse to the path of the file and choose it.
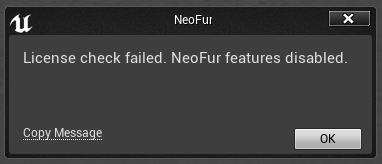
If you didn't create the license file correctly, you will see this message:
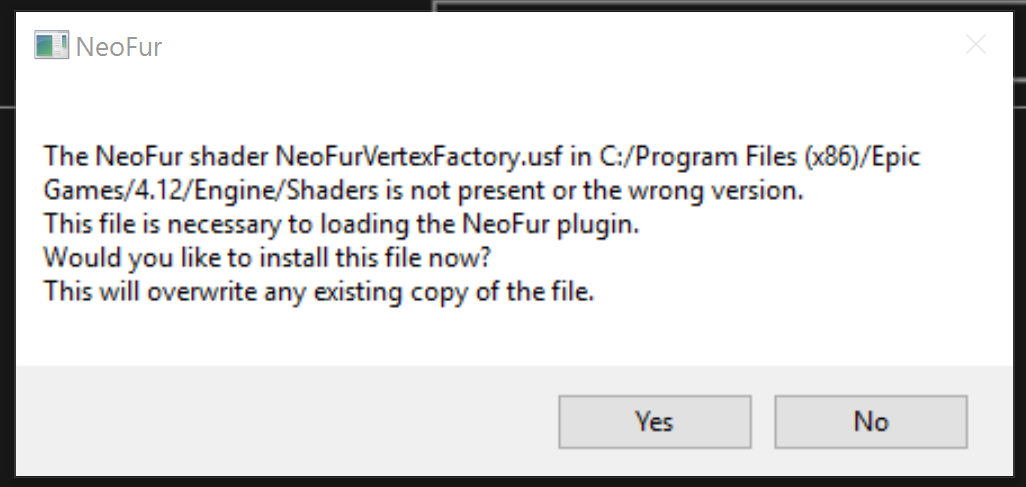
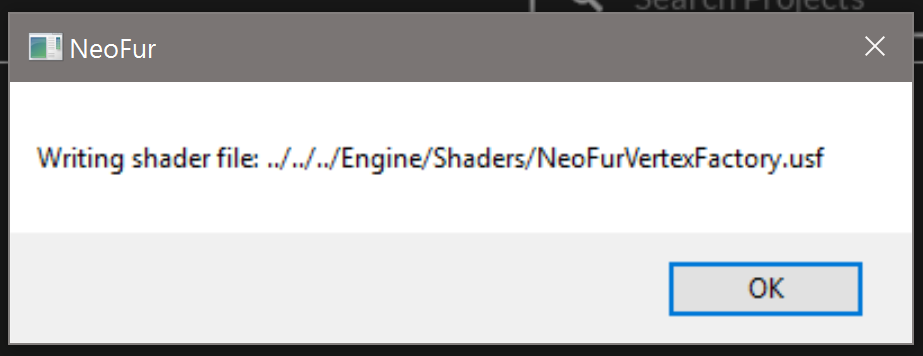
The NeoFur plugin will be enabled by default. Additionally when opening your project the first time, our custom .usf shader files will be copied and placed in the proper relative directory. You may receive a dialog asking your approval for this step.
Post Install
Optional Actions
There is a very small amount of base content you can optionally use instead of the demo project. Copy from:
YourProject/Plugins/Neoglyphic/NeoFur/Content/NeoFur
To:
YourProject/Content/Neofur
This provides the master material template and a handful of other assets. The majority of the test assets can be found in our Demo project, downloaded separately from your download link.
Use the Quickstart Guide to get started and learn the basics!
Warning: Due to compiling, your first editor load may take SEVERAL MINUTES!
Your project has not crashed! Please allow it to compile!
Customer support service by UserEcho
